How to use private AWS s3 bucket with Strapi V4?
Here's how we can use a private AWS s3 bucket with Strapi with the help of CloudFront

I am a developer by heart. Love programming and problem solving. and love to share whatever I learn. Feel free to contact me or follow on Twitter. I tweet about Programming, MEMEs, Quotes, Books etc. I also make youtube video related to programming and tutorials. checkout my channel also "a little coding"
Strapi wants us to create a public s3 bucket to use for media files. The setup with a public bucket is pretty easy [documentation]. First do everything as said in this [documentation], just don't enable the public access option. Also, make sure ACL option is enabled

Sometimes you may require to use only a private bucket because a public S3 bucket would be a security risk in terms of DDOS attacks etc. Let's see how we can do this.
Step 1: Custom Provider
For this, we will write our upload provider. You may take a look at the strapi docs too.
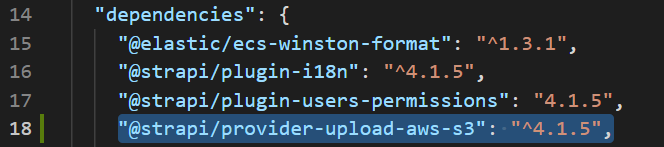
Add "@strapi/provider-upload-aws-s3": "^4.1.5", in your package.json.
After this run npm install.
 In your project root directory, create a folder
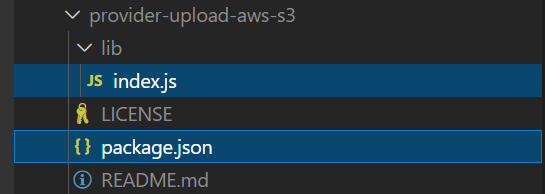
 providers. Inside that create another folder upload-custom-provider. In that folder, you will need two files like it's shown in the below image.

node_modules\@strapi\provider-upload-aws-s3
Go to this path and copy these two files and put them in your upload-custom-provider
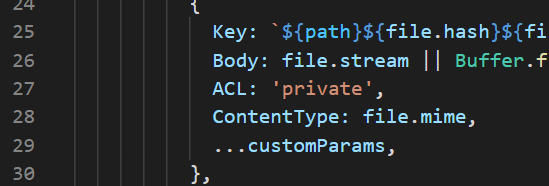
Open index.js (which is inside custom-provider folder), somewhere around line no 27 you will see ACL: 'public-read',. Replace public-read with private
Step 2: Setup custom provider
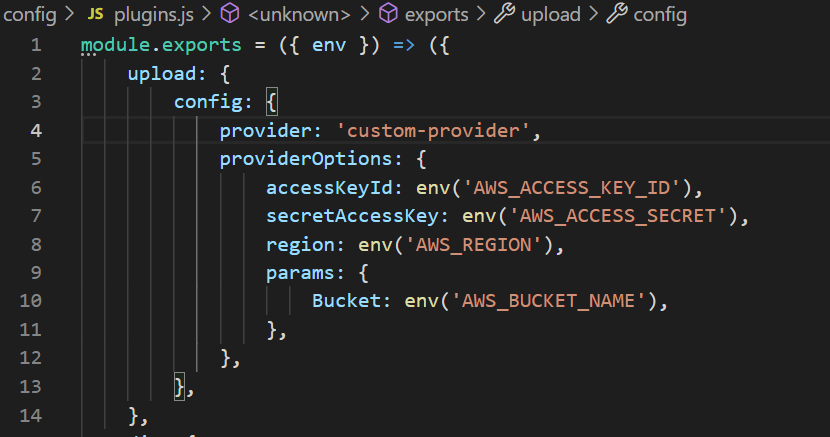
If you have already done the setup for the s3 bucket in strapi your plugin.js must be looking like this. just make sure you are using the new provider: 'custom-provider',, not the default aws-s3.
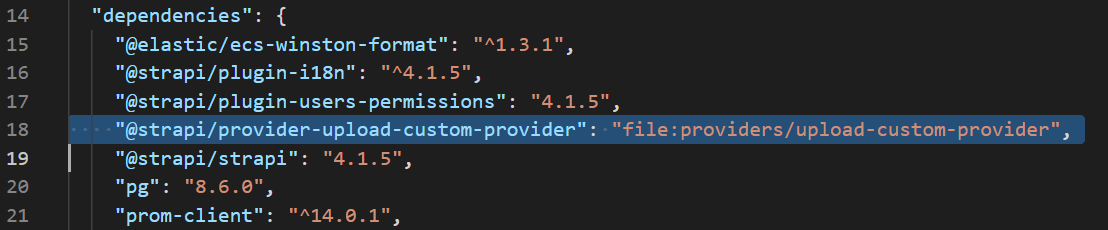
Now, in package.json (which is in the project root directory) replace "@strapi/provider-upload-aws-s3": "^4.1.5", with this
"@strapi/provider-upload-custom-provider": "file:providers/upload-custom-provider",
Keep all these credentials in your .env file.
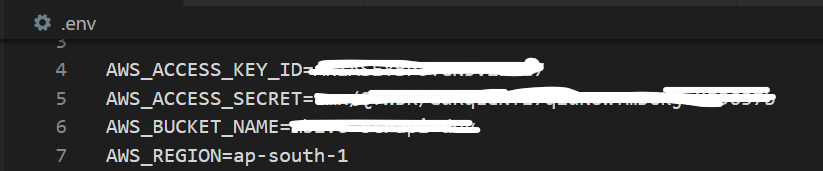
AWS_ACCESS_KEY_ID=<value>
AWS_ACCESS_SECRET=<value>
AWS_BUCKET_NAME=<value>
AWS_REGION=<value>
Step 3: Almost done
If you run npm install and then npm run develop you will be able to upload in the private bucket now. But as the bucket objects are private the images will not be able accessible.
After upload, the images will look like this.
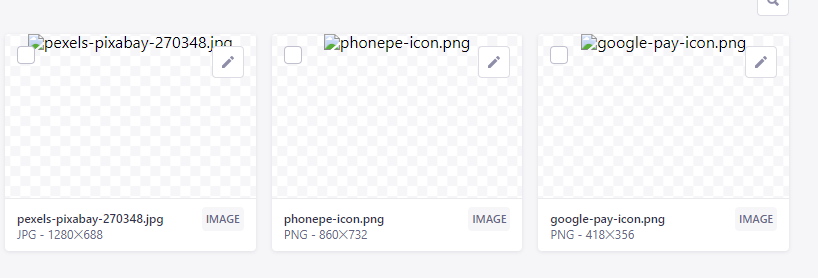
if you try to open the images in a new tab, you will see an access denied error. But make sure the images are there in the bucket.
Step 4: CloudFront distribution setup
I don't have the exact steps for this setup but you can follow the AWS documentation or this below tutorial that I found on youtube.
https://youtu.be/-DDGYzKtNwc
Once this setup is done you will get a CloudFront base URL to assess the images publically.
The URL will look something like this https://dwcz1uyxyzabcd.cloudfront.net
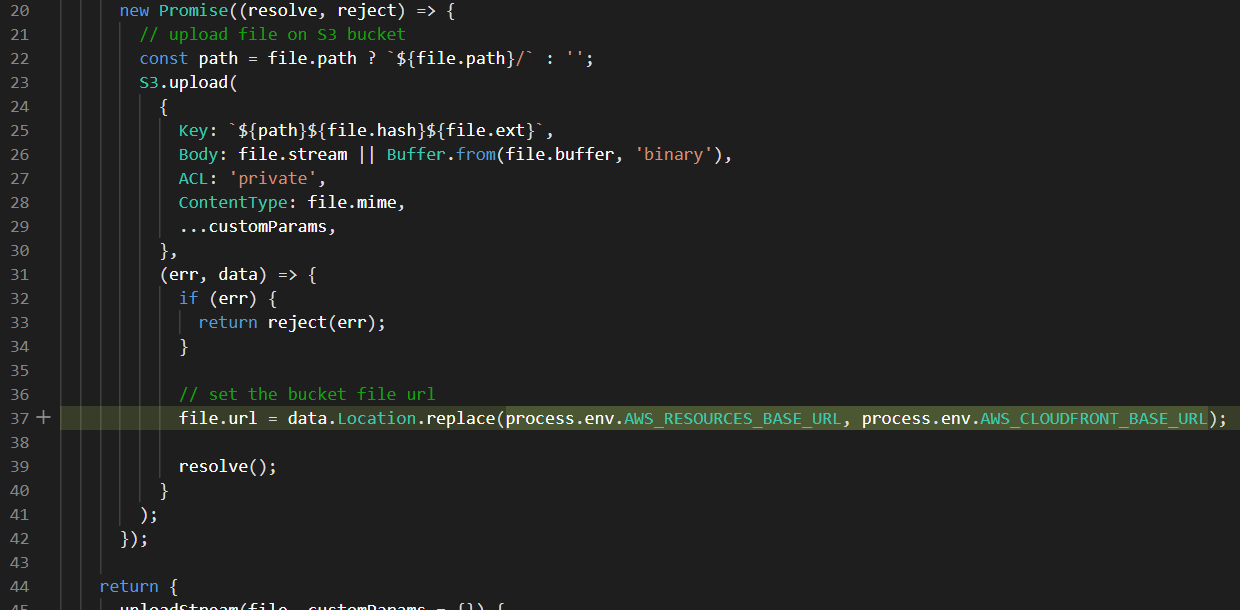
Now, all we have to do is replace the s3 bucket base URL with the CloudFront base URL to access the images. Open index.js again and do the placement. see line no 37 in the below image.
file.url = data.Location.replace(process.env.AWS_RESOURCES_BASE_URL, process.env.AWS_CLOUDFRONT_BASE_URL);
Add these two values in the env file.
AWS_RESOURCES_BASE_URL=https://s3.ap-south-1.amazonaws.com/abcd-strapi-xy
AWS_CLOUDFRONT_BASE_URL=https://dwcz1uymeabcd.cloudfront.net
After this everything should work smoothly.
Hope this helps. If you find any better solution or have any suggestions please comment below. I would love to hear from you guys.